The steps below follow the order of the work for this porch and patio project.
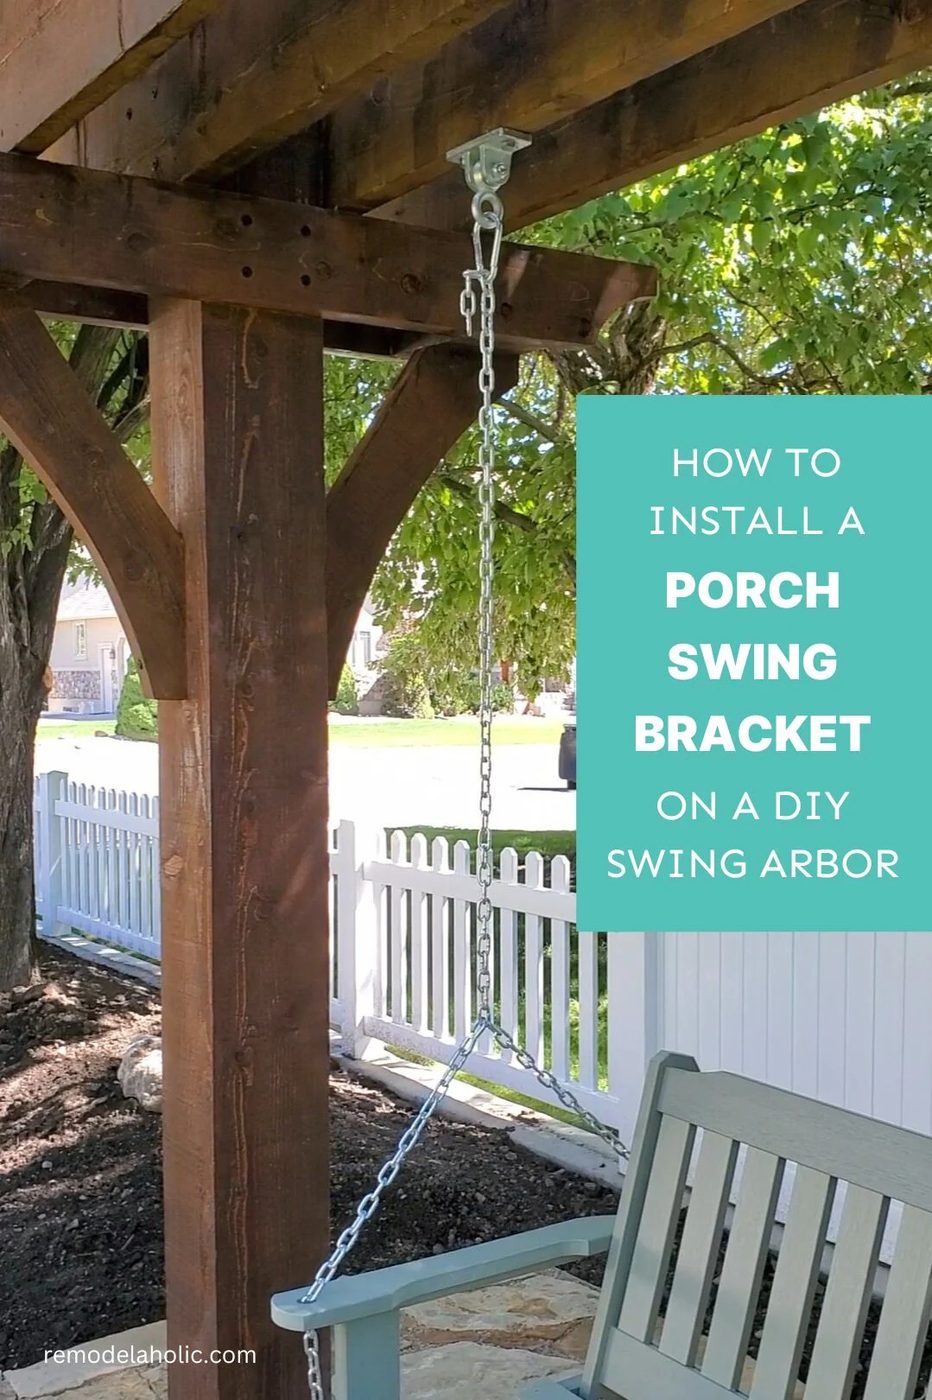
We’re sharing step by step as we build a Handmade arbor swing in a striking backyard! This is Step 14: how to install heavy duty porch swing brackets.
Follow along on YouTube, Instagram, TikTok, or Facebook to see each step, or subscribe here to get our new blog post emailsWatch the full Handmade Arbor Swing Step-By-Step video playlist here.
This post contains affiliate links. Learn more and read our full disclosure policy here.
How to Install Porch Swing Brackets
We are so close to the final project reveal for this Handmade swing arbor! This is our penultimate step: installing the porch swing brackets.
It’s been awhile since we started, so you can review the process here, from digging the footings to installing the beams, then staining and installing the flagstone patio.
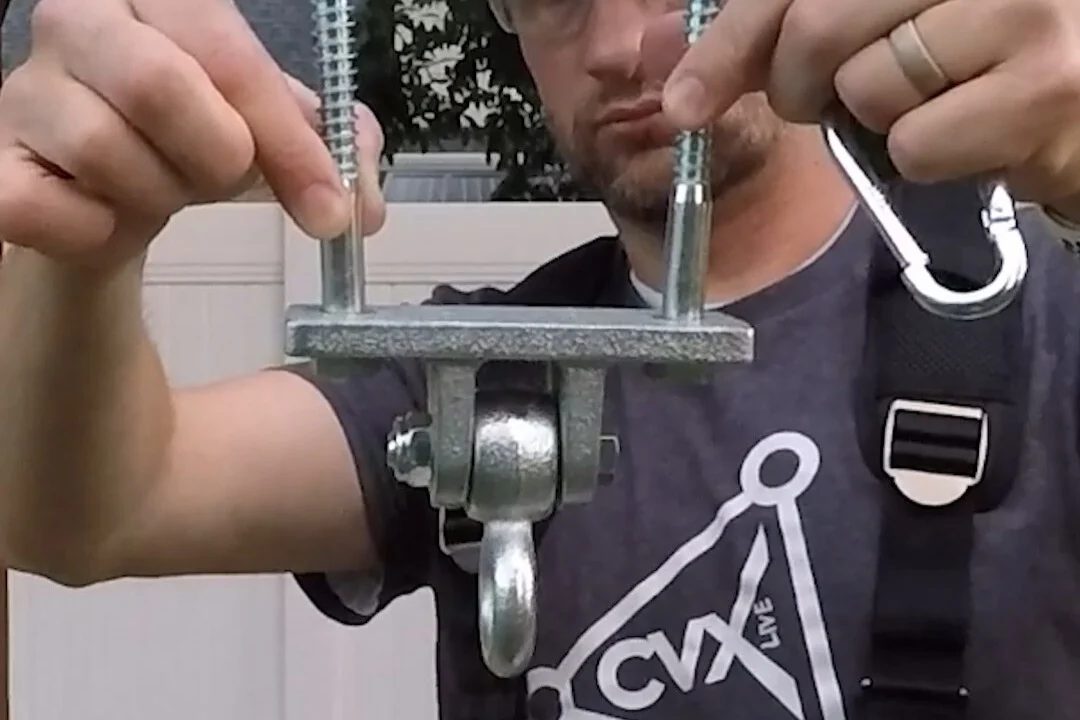
For this porch swing hung on a 2×8 rafter, I used 2 heavy-duty swing hangers and 2 lag screws for each hanger. You could also use this same process to hang a swing from a ceiling joist if you have exposed ceiling beams like we do. (On a traditional 4×6 swing beam, you can use bolts through the beam to attach the swing hangers instead of screws if you prefer.) I prefer the movement and durability of these porch swing brackets to a Handmade bracket using eye bolt fasteners.
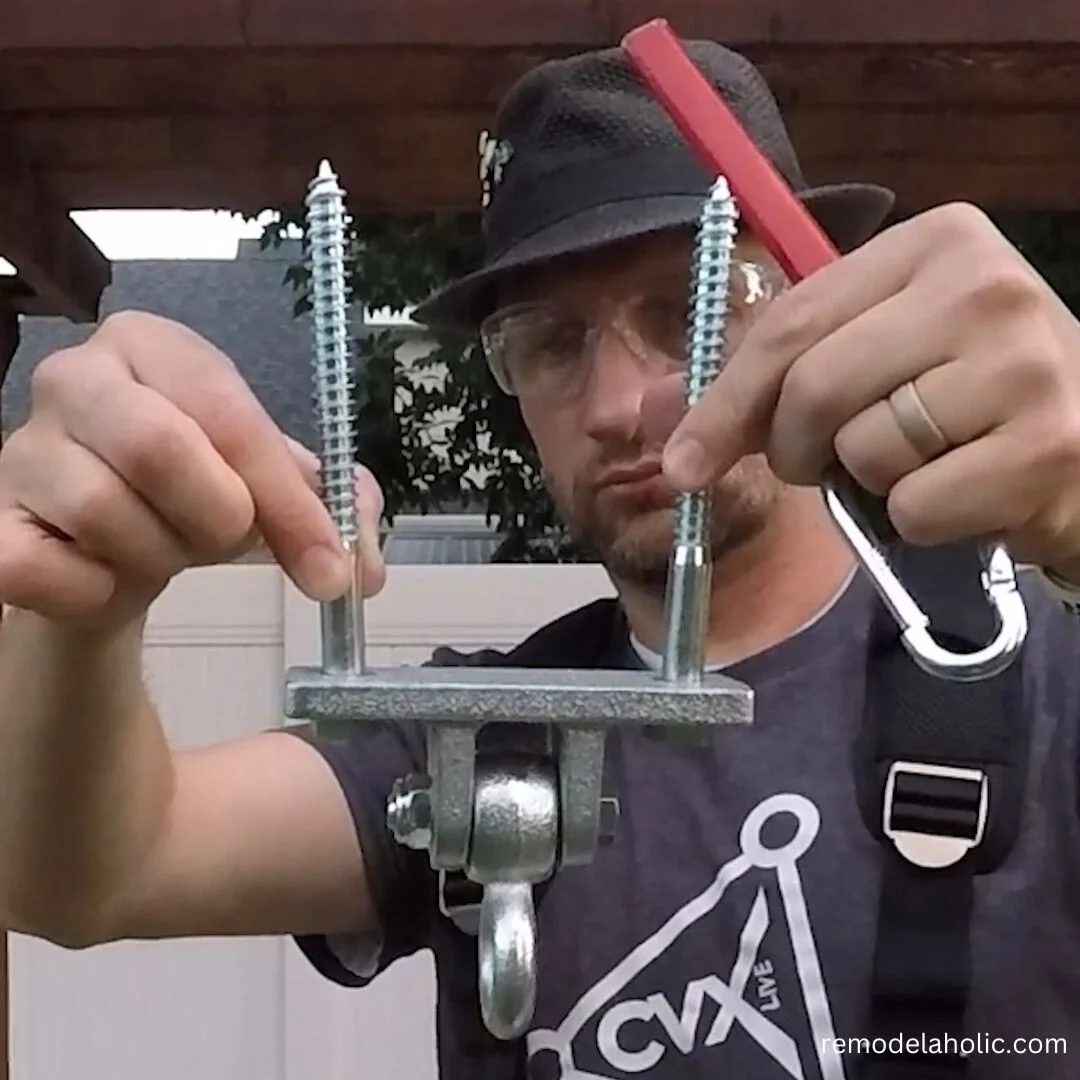
There are many different types of porch swing brackets you change choose to hang a swing. Prices range from around $25 per set up to $75 per set depending on the weight capacity and finish. Remember that the weight limit includes the swing *and* the people, so I personally always get heavy duty swing hangers with a higher weight limit. Here are some good options:
As you’re purchasing swing hardware, you can buy 2-pack hardware or you can purchase kits that come with all of the pieces needed. Depending on the hanging kit, it might include washers, comfort springs, and/or bolts. Check that the metal is rated for outdoor use to ensure long-term durability. I used basic swing hangers, but a hanger with springs can give you an extra little bouncy cushion for added comfort.
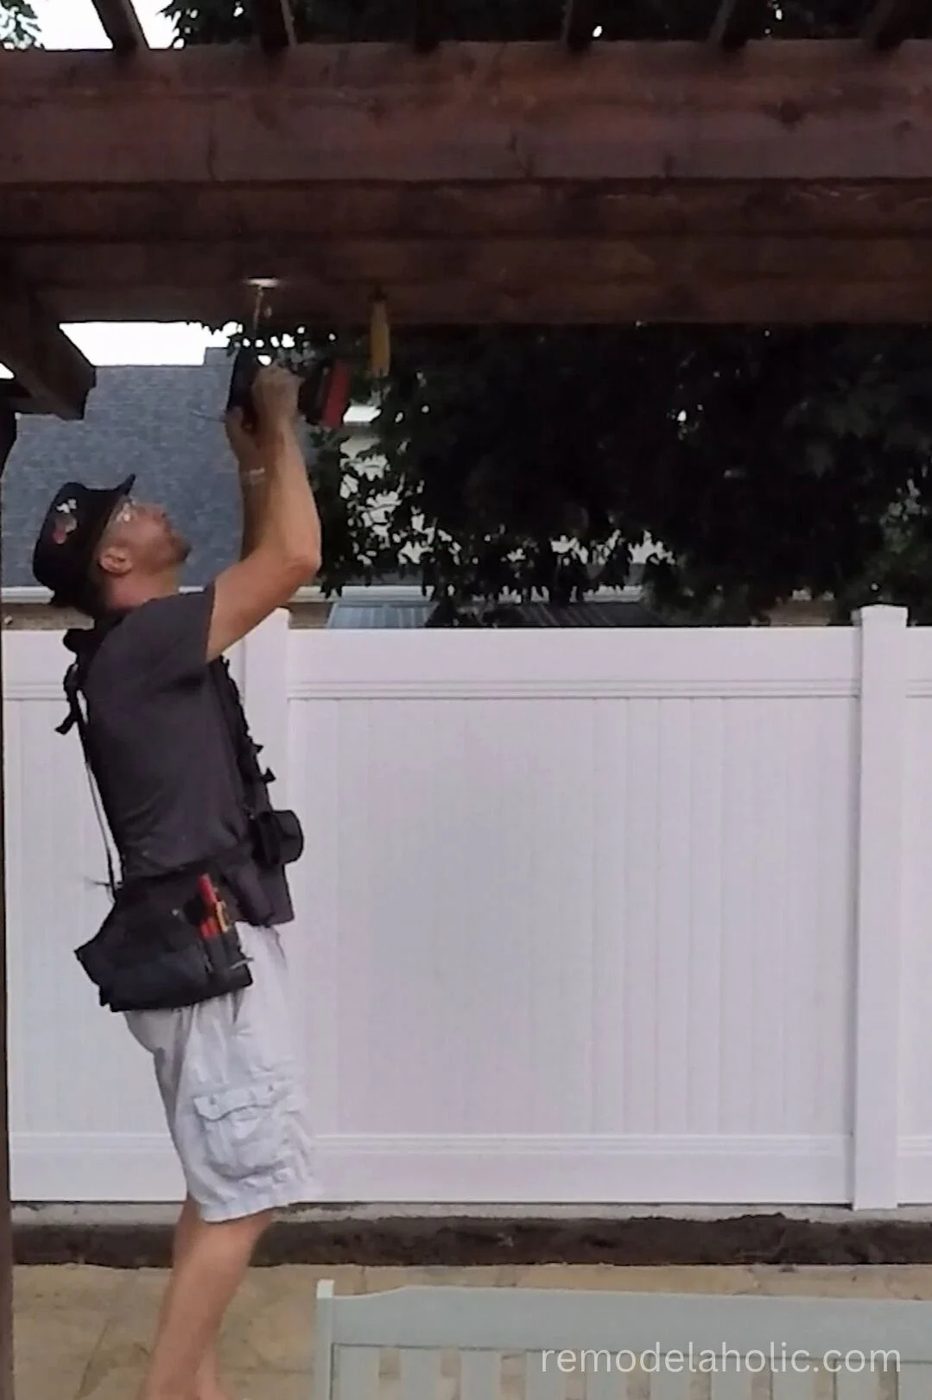
To hang a porch swing from a 2×8 rafter beam:
- Measure the width of the swing and the width of the swing opening. Divide the difference by 2 to determine how far from each edge the *center* of each swing hanger should be, and mark the overhead support rafter at that location.
- Line up each swing bracket center with the center marks, then mark the holes where the 2 bolts will be attached to the rafter beam.
- Pre-drill pilot holes for the lag bolts in the beam.
- Attach the swing bracket using the 2 lag bolts in the predrilled holes, with a washer in between.
Stay tuned and subscribe to see the finished project reveal!
- YouTube
- TikTok
Step By Step: Handmade Arbor Swing
We’ll share the step-by-step details as we go, right up until the final striking reveal! Here are all the steps:
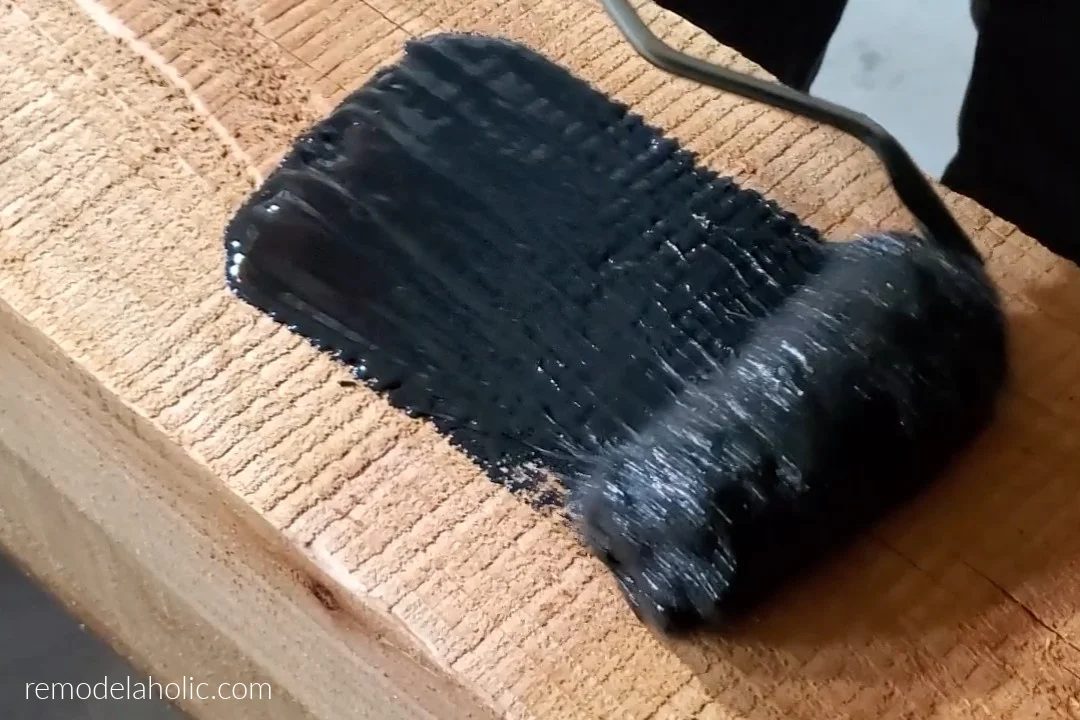
Handmade Arbor Swing: How to Seal Wood Posts
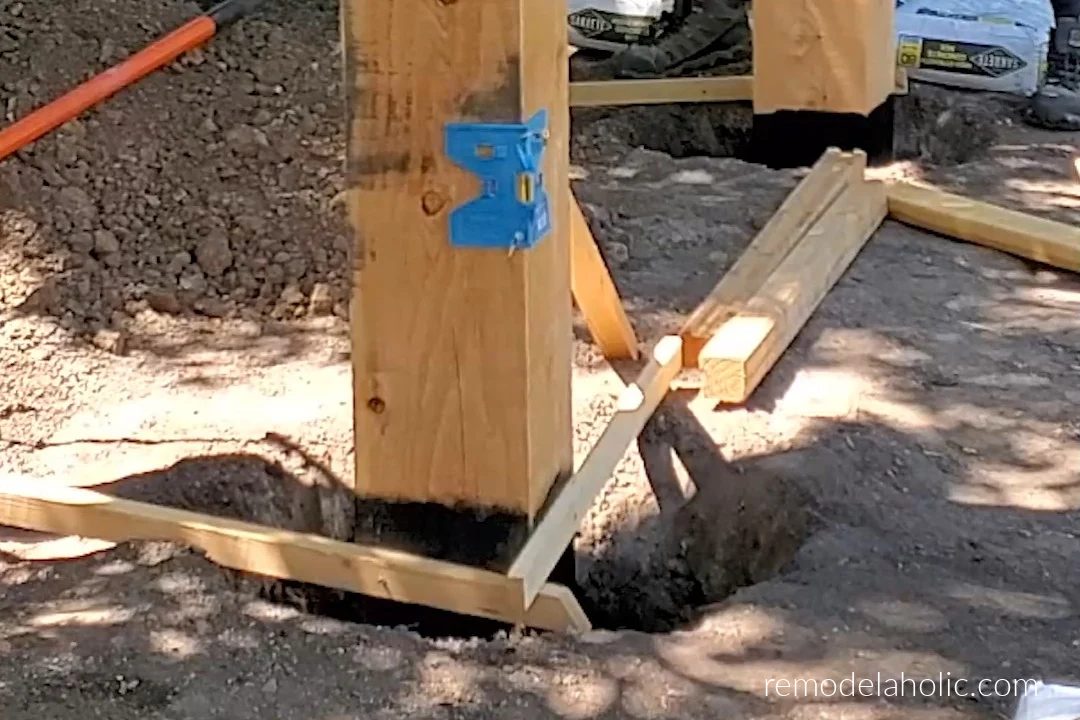
Handmade Arbor Swing: How to Place and Level Posts
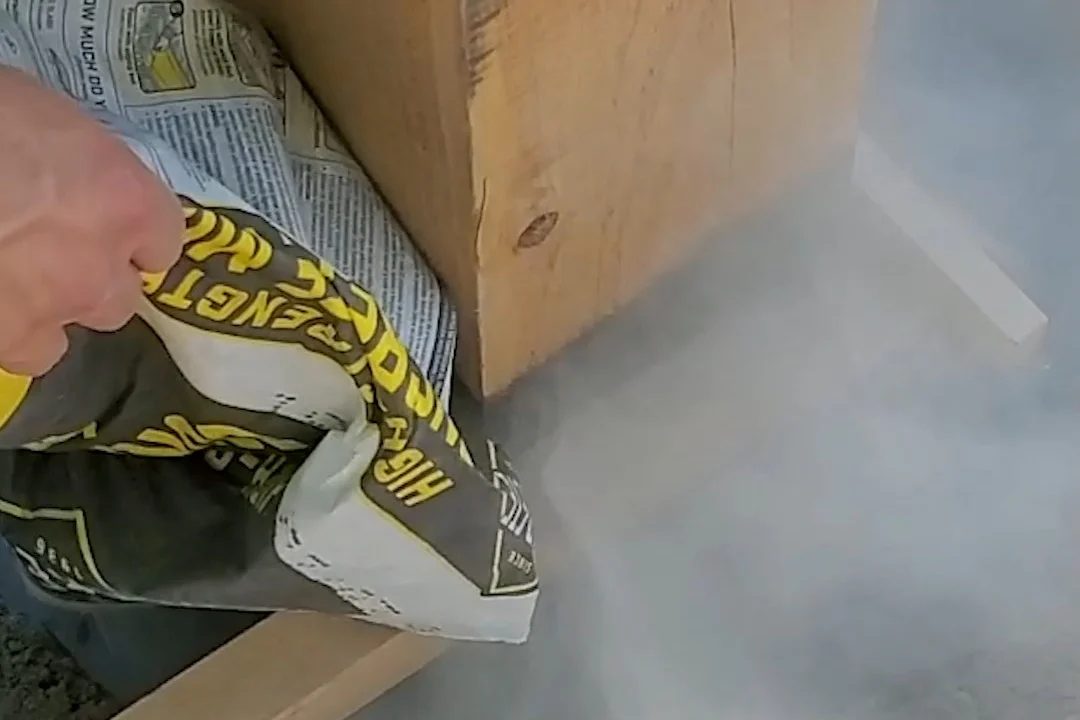
Handmade Arbor Swing: How to Dry Pour Concrete Footings The straightforward Way
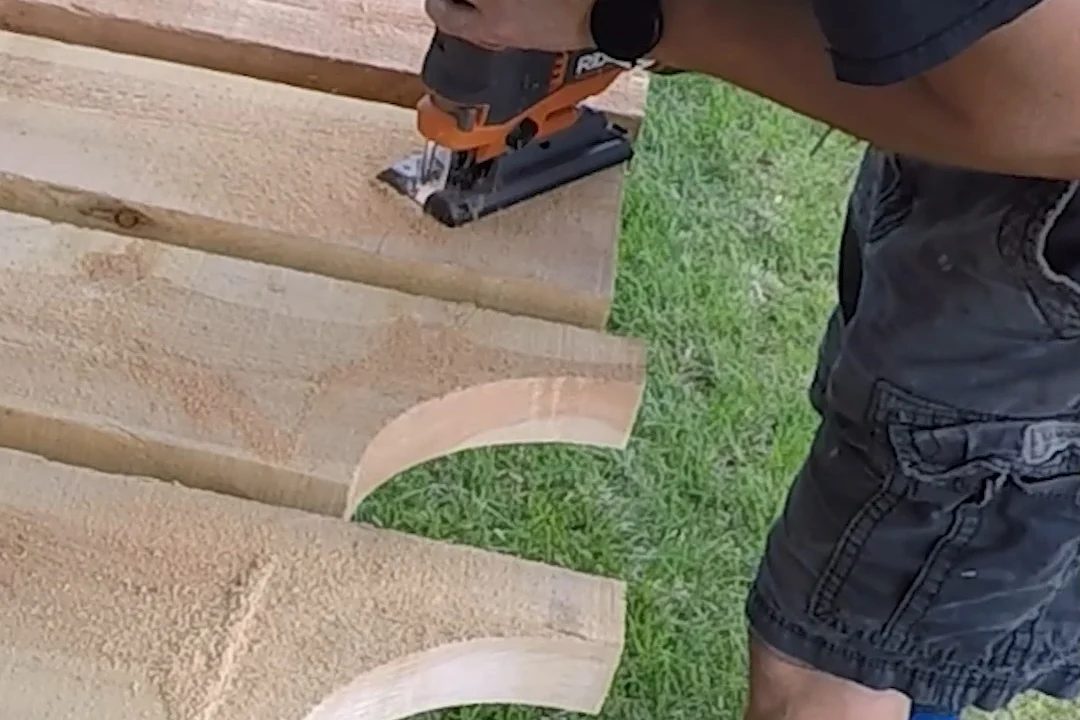
Handmade Arbor Swing: How to Cut Pergola Rafter Tail Designs (with Printable Patterns)
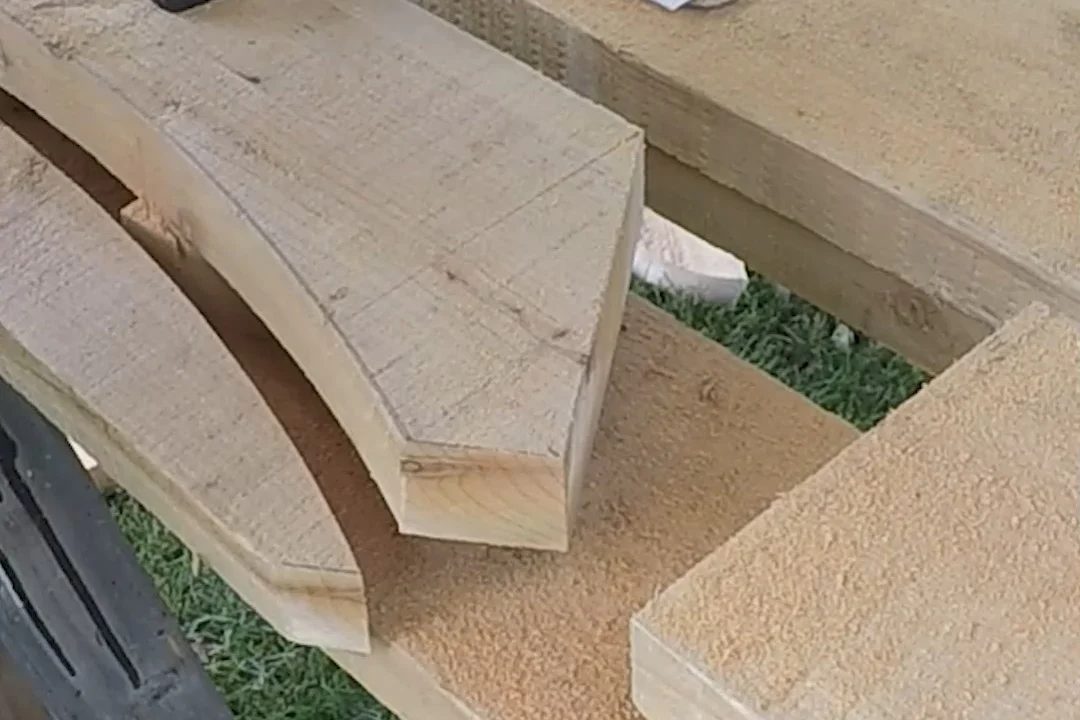
Handmade Arbor Swing: How to Cut Handmade Wood Braces for Pergola Support
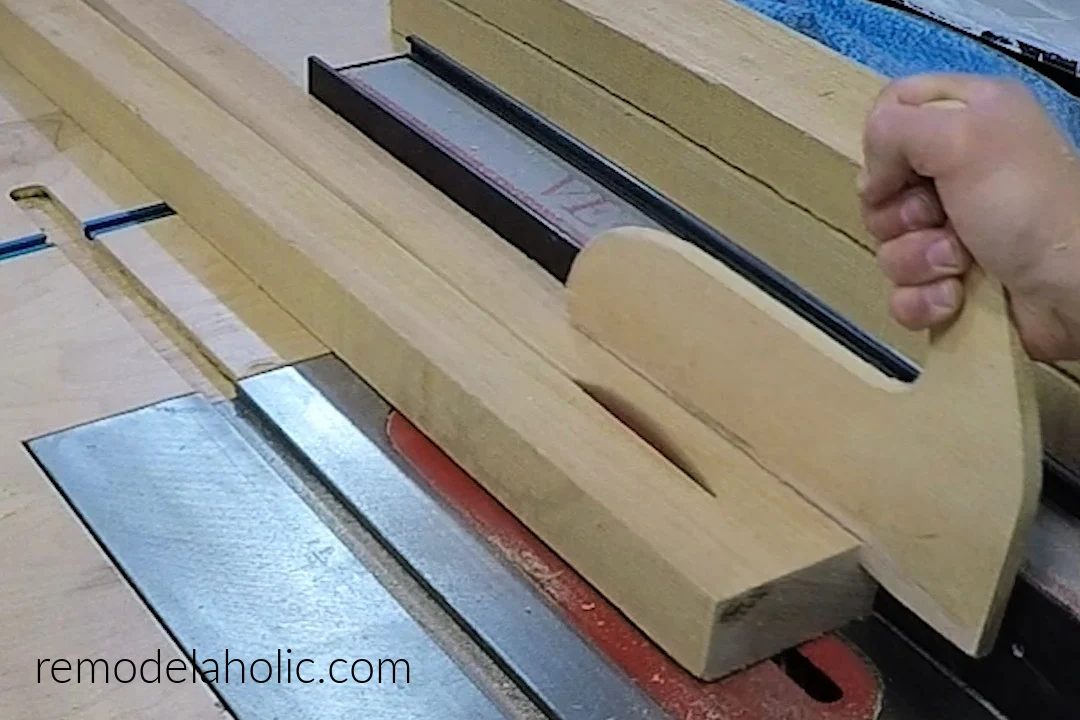
Handmade Arbor Swing: How to Make 2×2 Lumber from a 2×6
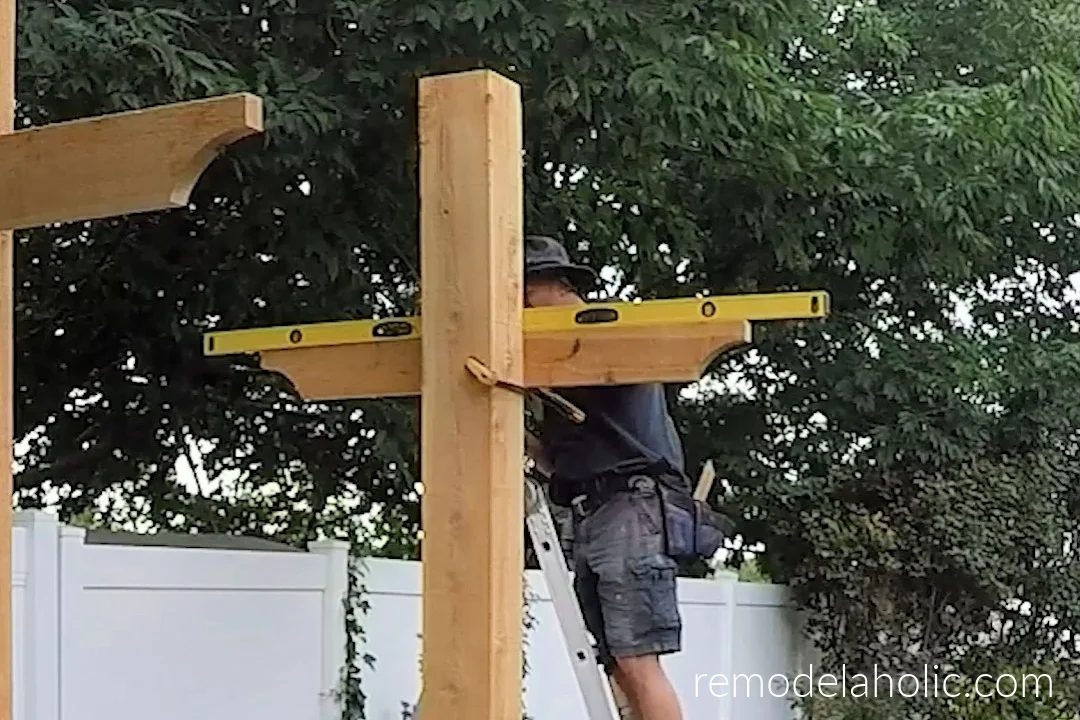
Handmade Arbor Swing: How to Install Wood Beam Supports
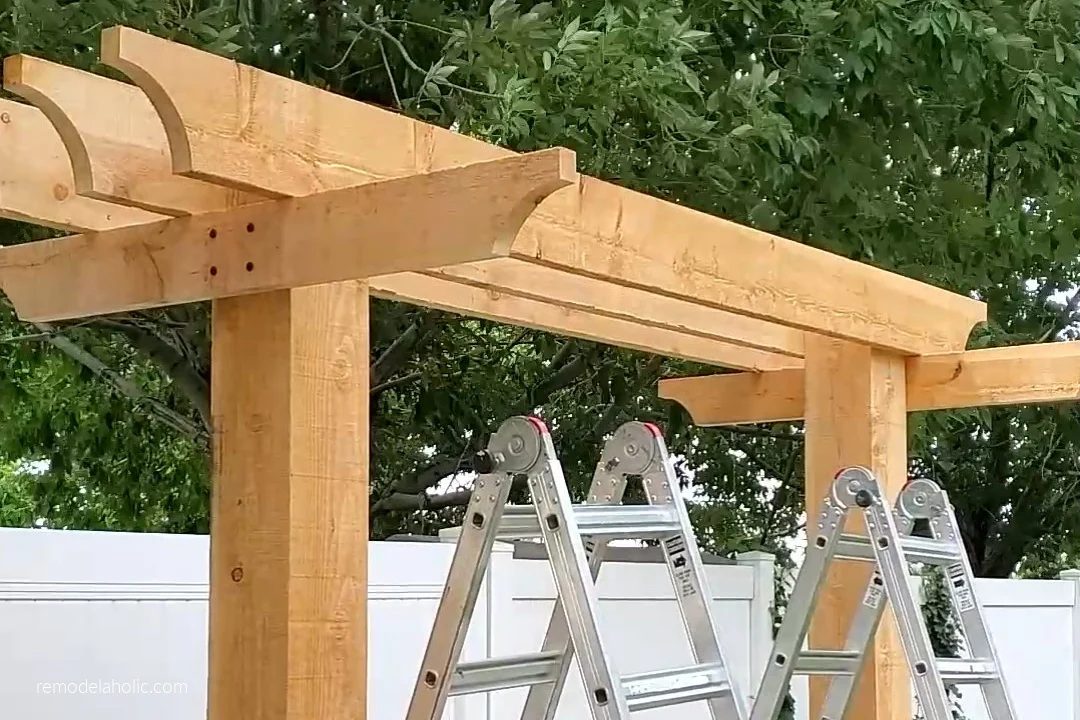
Handmade Arbor Swing: How to Install Arbor Swing Beams
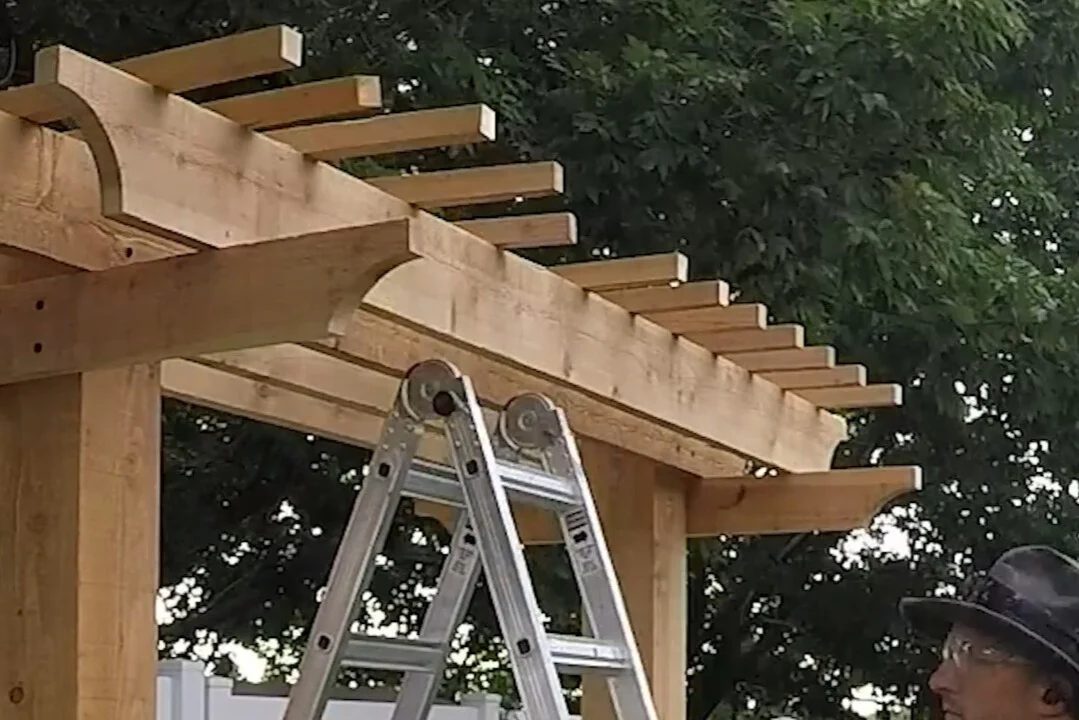
Handmade Arbor Swing: How to Install Rafters / Purlins
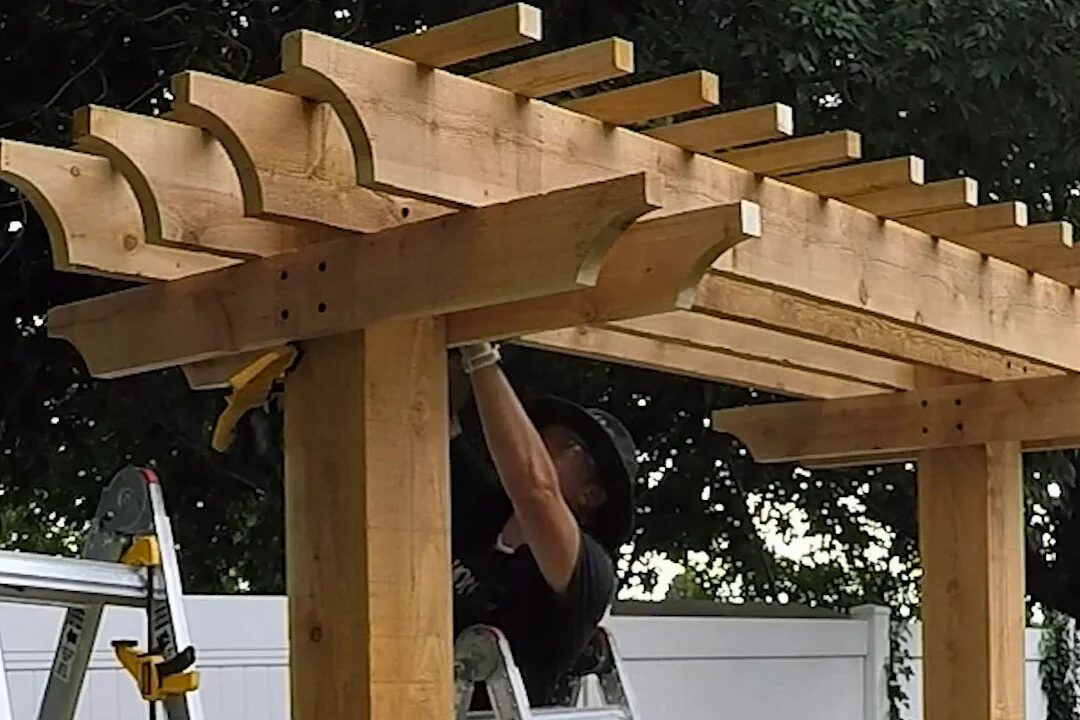
Handmade Arbor Swing: Lattice Purlins & Beam Supports (Part 2)
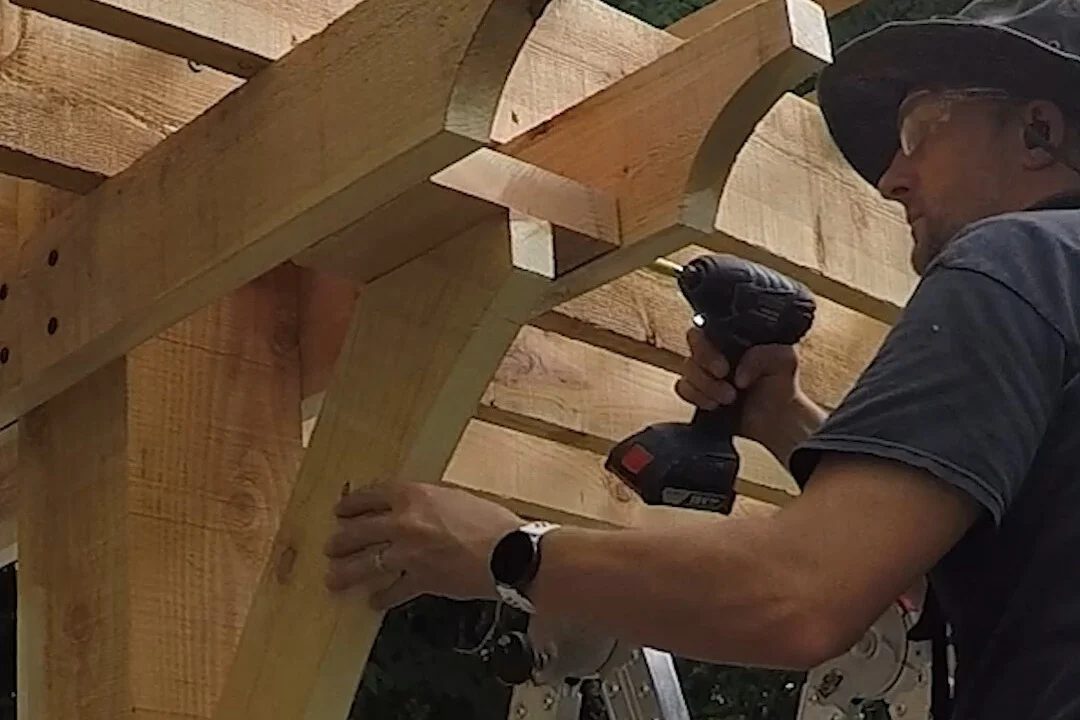
Handmade Arbor Swing: How to Install Curved Wood Knee Braces
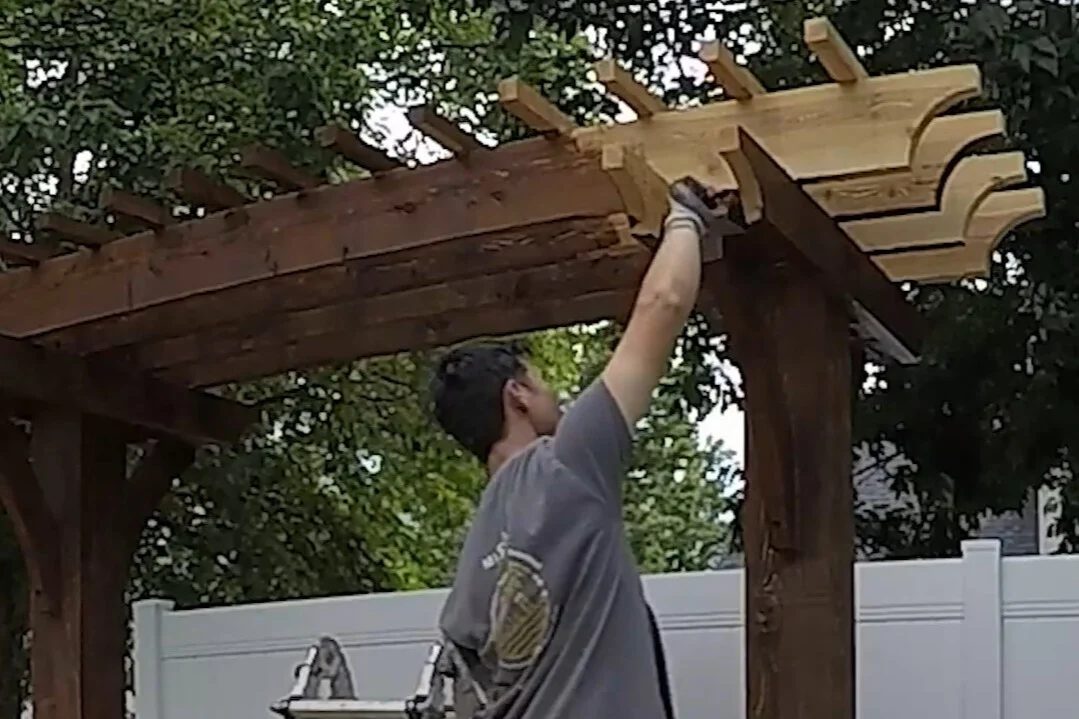
Handmade Arbor Swing: How to Stain Cedar for Outdoor Use
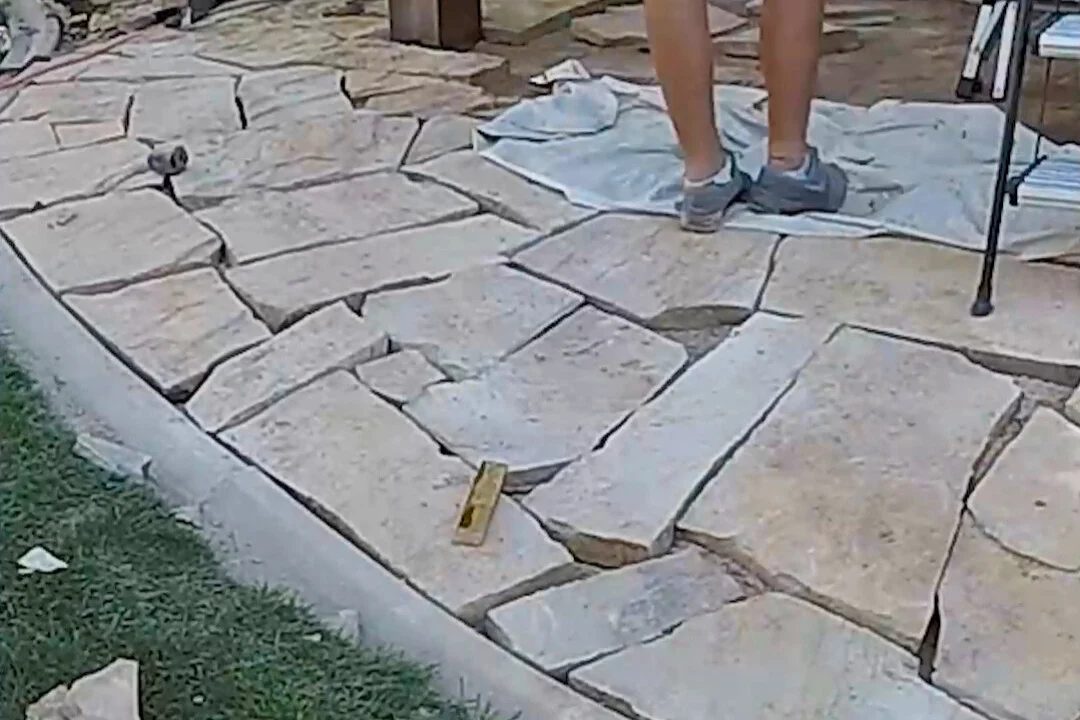
Handmade Arbor Swing: How to a Install Flagstone Patio
Handmade Arbor Swing: How to Install Porch Swing Brackets
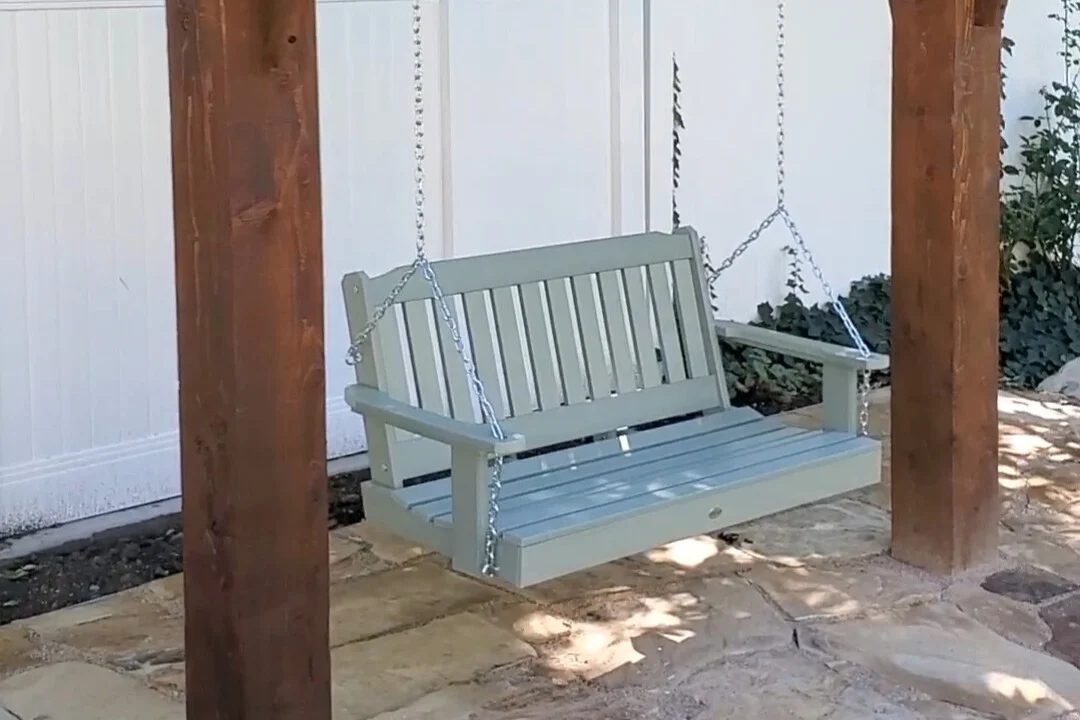
Handmade Arbor Swing: How to Hang a Porch Swing
Pin this to save and share!